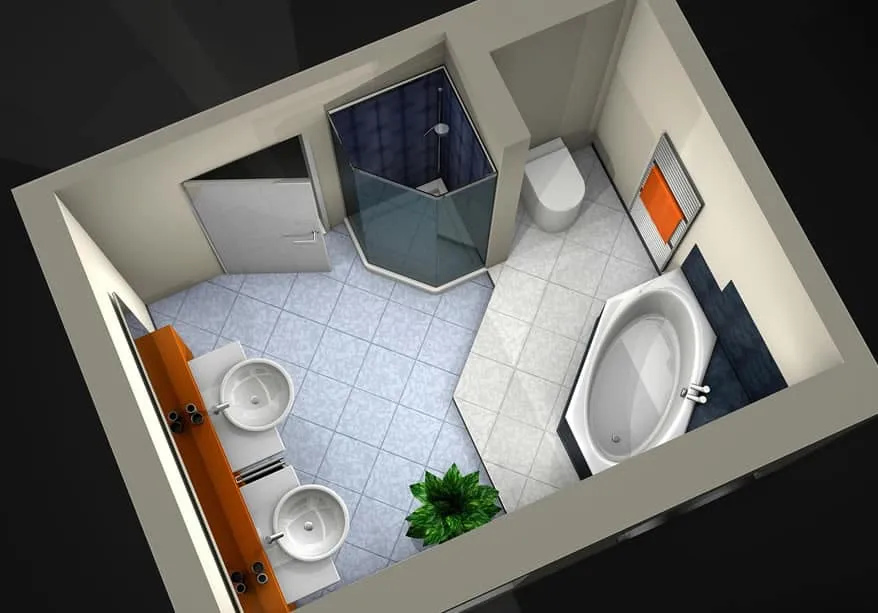
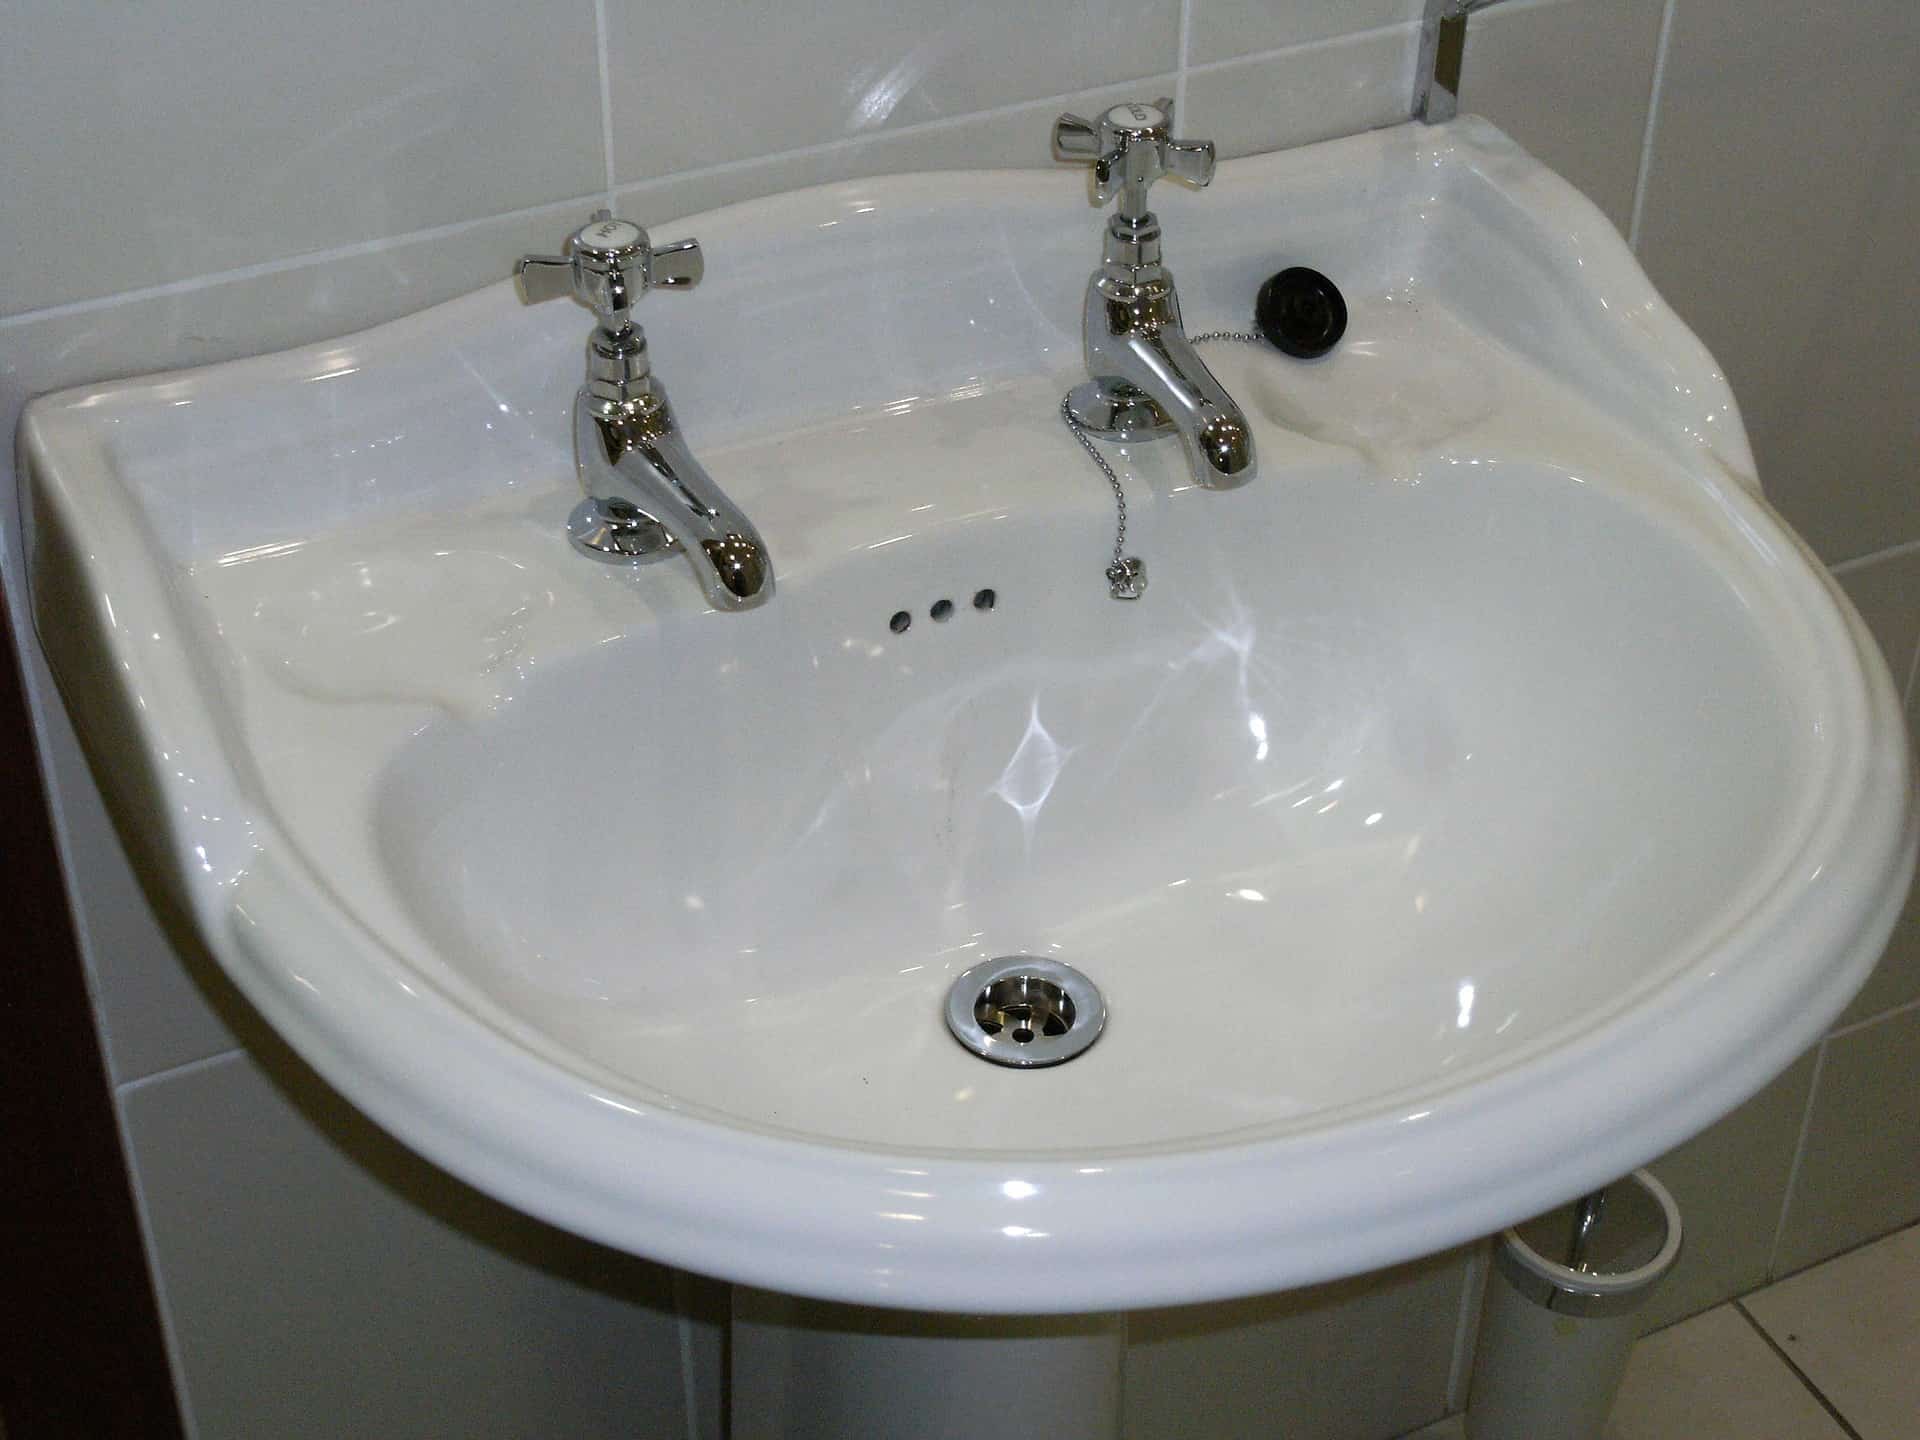
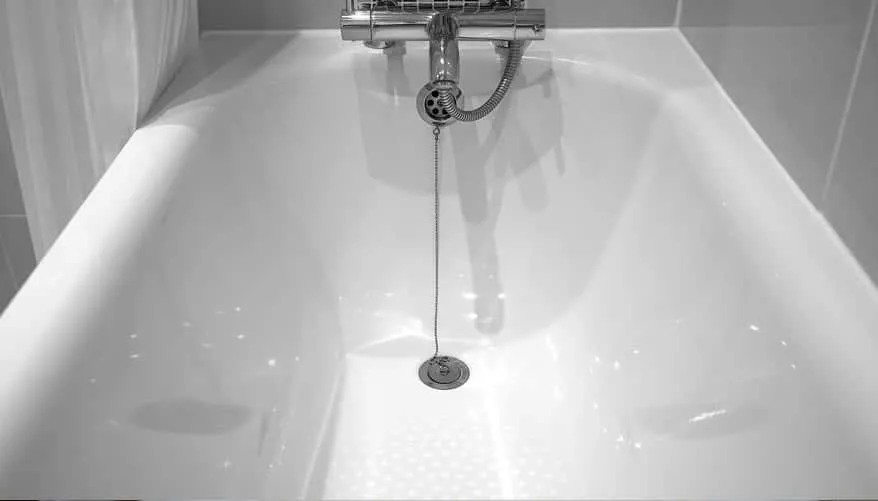
Looking for a complete guide to bathroom remodeling? You're in the right place! Every bathroom is different, but we've put together a step-by-step overview of what it takes to completely renovate one. There are many ways to save time and money along the way, so be sure to check out the "Pro Tip" in each section. These tips will help you plan a smooth and budget-friendly bathroom renovation. The first step in any bathroom renovation is planning—plenty of it. If you’re doing some of the work yourself, knowing material costs is essential. If you're working with contractors, get quotes from multiple professionals before starting. Many people underestimate the cost of a full bathroom renovation. Depending on the materials and how much you replace, even a small bathroom can cost thousands. You may not finalize your material choices yet, as some design decisions are better made later. However, getting a sense of color schemes and pricing will help you visualize the final look. If you're changing the layout, sketch out your new floor plan now. Knowing where plumbing and electrical systems are located is crucial for accurate estimates from plumbers and electricians. PRO TIP: Ask your contractors if they can offer discounts on lighting, tile, paint, or fixtures. They often have access to wholesale or clearance items that are more affordable than big-box store options. If your flooring contractor knows you're doing some work yourself, they might help you save on paint. Demolition is part of the process, but it shouldn’t be rushed. First, turn off all water and electricity to the room. Know which elements you’ll keep and which you’ll remove to avoid damage. If removing wall tiles, be careful not to damage pipes behind them. When taking out the sink or toilet, don’t break them before removal—this creates unnecessary mess. Remove items in sections to save time and effort. PRO TIP: If you're considering refinishing your tile or countertops, you might skip the full demolition. Professional refinishing can give your space a fresh look without replacing everything. It’s faster and cheaper, and you can still achieve a brand-new appearance. If you’re moving any fixtures, such as a sink, toilet, or shower, you'll need to adjust the plumbing. This is best left to a professional plumber. Let them know where each component will go, and they can make the necessary changes. If you're updating old pipes, this is the perfect time to do it. PRO TIP: If your current layout works well, choose new fixtures that fit your existing plumbing. This can save you from hiring another professional and reduce overall costs. If you removed your old bathtub or shower pan, this is the time to install the new one. While it may seem simple, it requires precise adjustments. Your new fixture may not match the size or shape of the old one, so you may need to adjust flooring or wall studs. Hiring professionals ensures everything fits perfectly. PRO TIP: If your bathtub or shower pan is still in good condition, consider refinishing instead of replacing. Refinishing fills cracks and dings, giving it a like-new look at a fraction of the cost. It also seals grout lines and prevents mold buildup. This is when your new bathroom starts to take shape. If you're refinish tile, this step will overlap with wall tile installation. For new floor tile, the tiles are set using spacers, then grouted after 24 hours. Grout needs another 24 hours to dry before cleaning. PRO TIP: For small bathrooms, check local Habitat for Humanity Restore for affordable tile options. You might find matching pieces at a lower price than regular stores. Depending on your setup, you can install wall and floor tile at the same time. If you're refinishing, everything happens together. Installing wall tile is similar to floor tile—wait 24 hours for the tiles to set, then another 24 hours for the grout to dry. The result is a brand-new bathroom. PRO TIP: Save on wall tile by using an inexpensive option for most of the area and adding a decorative accent strip. You can also opt for refinishing instead of replacing, which avoids messy demolition and allows for color and style changes. If you removed wall tiles, you may need to replace damaged drywall. Cement board or backerboard is ideal for wet areas like bathrooms. Once the surface is dry, you can paint or re-tile it in your desired color. Use semi-gloss paint for easy cleaning. PRO TIP: Check local paint stores for miss-tinted semi-gloss paint. These are returned cans that are sold at a discount, sometimes as low as $3 per can. You can even ask them to match the color formula if you need more than what's available. New vanity lights can modernize your bathroom. Some can be installed without an electrician, but older homes may require professional help. If your wiring is up to date, you can follow the instructions provided. Replacing your vanity and sink may involve minor plumbing adjustments, but it’s usually affordable and straightforward. PRO TIP: Look for used lighting fixtures at thrift stores or home improvement resale shops. You can often find high-quality items at a fraction of retail price. Sinks and vanities can also be refinished, offering a custom look without the cost of replacement. Install new faucets and drain systems when setting up your vanity. Replace knobs or other features in your shower or bathtub. Choose matching finishes for a cohesive look throughout the bathroom. Installing baseboards and door trim is one of the final steps. You can paint them before or after installation. Use touchup paint to fix any damage from earlier steps, and your bathroom will be nearly finished! PRO TIP: If you don’t have a miter saw, use decorative corner pieces to cover joints in trim. This adds personality and is cost-effective for small bathrooms. The last step is installing accessories like towel bars, mirrors, shelves, and toilet paper holders. These are quick to install, and it’s best to wait until everything else is in place before choosing them. That way, you can see what colors and styles look best in your new space. PRO TIP: Shop online for accessories to save money. You can often find high-quality items at a fraction of the retail price. For example, a basic set might cost $120, while a branded version could be $688. Contact Maryland Tub and Tile at (410) 255-0323 for a free quote. We specialize in transforming tubs, tiles, sinks, and countertops—making your bathroom renovation faster and more affordable! Back To Back Standing Desk,4 Legs Standing Desk,Office Desk,Standing Desk Height Adjustable,Standing Desk Frame Suzhou Uplift Intelligent Technology Co., Ltd , https://www.upliftec.comStep 1 – Planning
Step 2 – Demolition
Step 3 – Plumbing Adjustments
Step 4 – Tub or Shower Replacement
Step 5 – Flooring

Step 6 – Wall Tile and Tub Refinishing
Step 7 – Walls and Paint
Step 8 – Lighting and Vanity Installation
Step 9 – Faucet Installation
Step 10 – Baseboards, Door Trim, and Touchup Paint
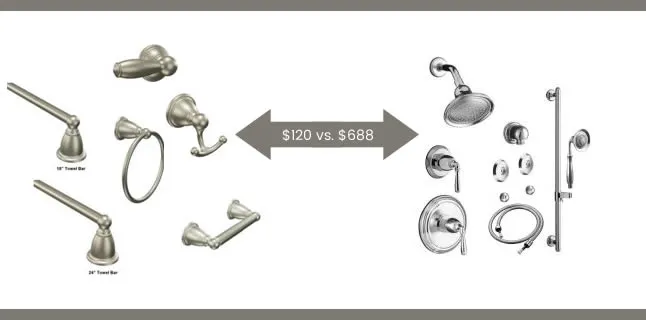
Step 11 – Accessories