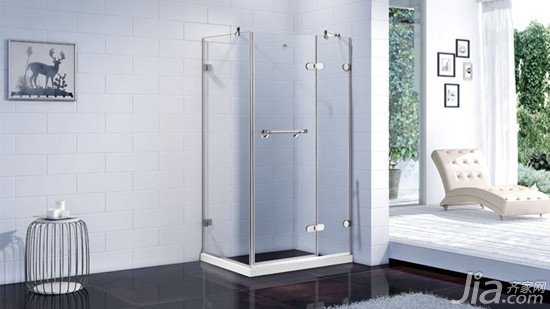
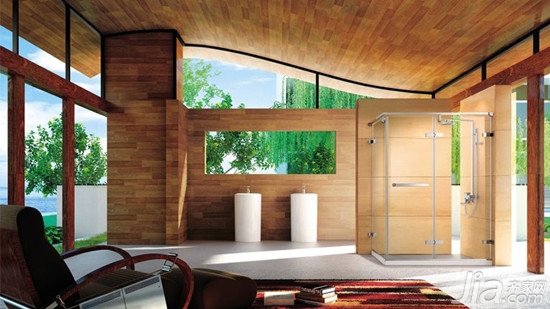
How to Properly Waterproof a Bathroom Shower Area? The shower room has become a popular choice among homeowners due to its functional benefits, such as promoting relaxation, providing warmth, and effectively isolating moisture and heat. Ensuring proper waterproofing in the shower area is essential to prevent water damage and maintain the longevity of your bathroom. Let’s explore the best practices for waterproofing a bathroom shower room. Key Steps for Effective Waterproofing in a Bathroom Shower Room Water leakage in bathrooms often stems from small details during construction. Areas such as floor drains, wall corners, and around pipe roots are particularly vulnerable due to the high number of joints and seams. These spots are more likely to develop cracks or gaps, leading to water seepage. Additionally, if the connection between the drain and the bathtub or shower base isn’t properly sealed, it can result in leaks over time. Therefore, proper waterproofing is crucial to avoid future complications and costly repairs. When choosing waterproofing materials, opt for single-component environmentally friendly polyurethane coatings, which are currently recommended by the Ministry of Construction. This type of coating adheres well to pipes and floors, penetrating into small gaps without shrinking after drying. It is especially suitable for smaller areas with many pipelines and joints, such as bathrooms, where rigid materials like traditional cement-based waterproofing may not perform as effectively. To ensure long-lasting waterproofing, it's typically recommended to apply the coating three times. It's important to avoid applying the material in rainy or humid weather, as this can affect the drying process. The drying time for one-component polyurethane coatings is generally around 3 to 4 days, depending on environmental conditions. In most cases, the walls of the bathroom should be waterproofed up to about 30 cm in height. For even better protection, the entire wall should be treated to prevent water from seeping through. If the wall is adjacent to a bathtub, the waterproofing height should extend above the top edge of the tub. For those using a shower area, extra attention should be given to the walls where shower fixtures are installed, as these areas are at higher risk of water exposure. After the waterproofing work is completed, all drains in the bathroom should be blocked, and a low wall should be built at the entrance for a water test. Allow the water to sit for 24 hours, then check the walls and floor for any signs of leakage. If no water seepage is found, the waterproofing is considered effective. If there are leaks, identify the problem areas and make necessary repairs before proceeding. Tip: For more detailed information, visit the official website or stop by our offline experience center for personalized advice. More Recommendations: Huida bathroom price American Standard bathroom official website Faenza bathroom guide Wrigley bathroom review Kohler bathroom overview Top 10 Sanitary Ware Brands What, are you still paying out of pocket for your renovation? The Qi family is renovating in installments with an ultra-low annual interest rate of 3.55% and a maximum loan of 1 million. Apply now and enjoy exclusive discounts! If you're interested in brand partnerships, content collaboration, or advertising opportunities on this site, please send an email to: [email protected] shower room, waterproof, bathroom, polyurethane coating, cement, toilet, leak, waterproofing, tile, renovation, home improvement Luxury Hotel Furniture,Wooden Hotel Furniture,Hotel Style Bed Frame,Wooden 5 Star Hotel Furniture PinSheng hotel furniture , https://www.pinshotelfurniture.com